
We’ve all been there. You look down at your stunning gel or acrylic nails, once perfect, now chipping, grown out, or maybe just no longer matching your vibe. You know it’s time to remove them, but the thought of damaging your real nails in the process makes you hesitate. Whether you’re a DIY enthusiast or simply prefer to take control of your beauty routine, removing gel or acrylic nails at home can be done safely and without the risk of harming your natural nails.
Here’s a lowkey guide to removing those gels and acrylics with care—because your natural nails deserve just as much love.
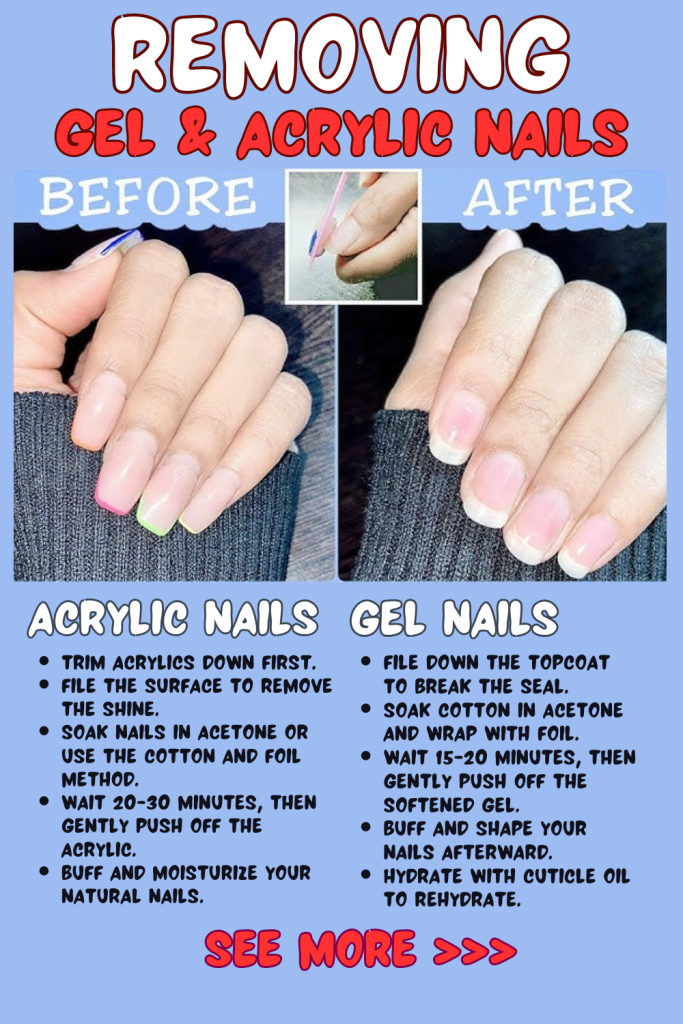
1. The Right Tools: What You Need Before Starting
Before diving in, it’s important to gather everything you’ll need to safely remove your gel or acrylic nails. Here’s your checklist for a smooth, damage-free removal process:
- Acetone (100%): Regular nail polish remover won’t cut it here. You need pure acetone, which is powerful enough to break down the gel or acrylic layers.
- Cotton balls or pads: These will hold the acetone against your nails.
- Aluminum foil: To wrap around the acetone-soaked cotton and keep it in place.
- Cuticle pusher or orange stick: For gently scraping off the softened product.
- Nail file: For buffing and shaping the nails before and after removal.
- Buffer block: To smooth your natural nails afterward.
- Cuticle oil: A nourishing oil to rehydrate your nails post-removal.
- Nail clippers and scissors: If you need to trim down your acrylics before removing them.
Now that you’ve gathered your supplies, it’s time to begin. Take a deep breath. We’re not rushing this—it’s all about patience and care.
2. Step-by-Step Guide for Removing Gel Nails
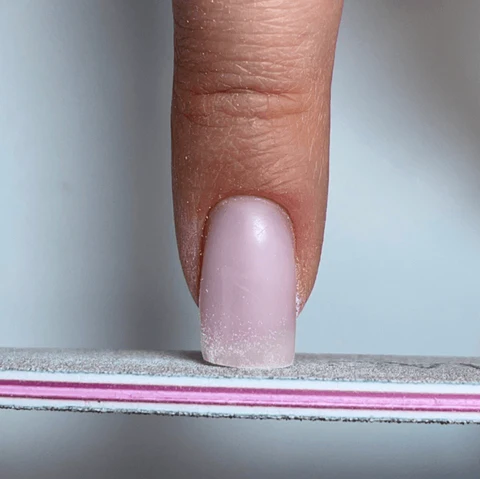
Step 1: File Down the Top Layer
Gel nails are known for their ultra-shiny finish, but that glossy top layer has to go first. Using a coarse nail file, gently buff the surface of each nail to remove the topcoat. Don’t press too hard—you’re only trying to break the seal so that the acetone can penetrate the layers of gel underneath.
Step 2: Soak Cotton in Acetone
Once the top layer has been buffed away, soak a cotton ball or pad in 100% acetone. You want the cotton to be fully saturated but not dripping, as it needs to sit on your nails without a mess.
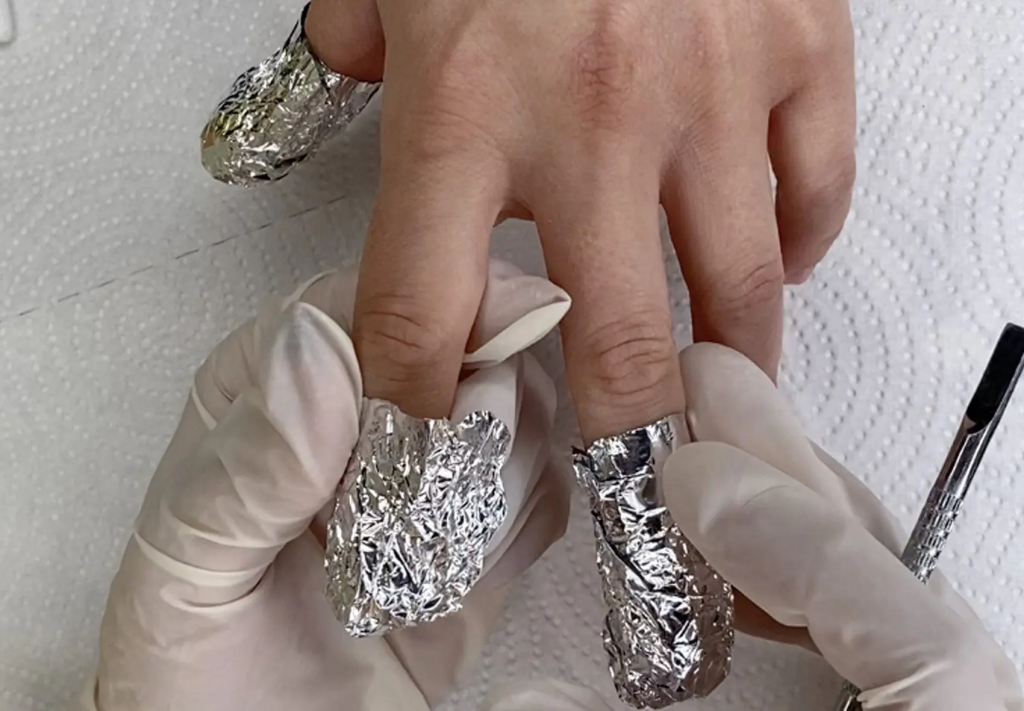
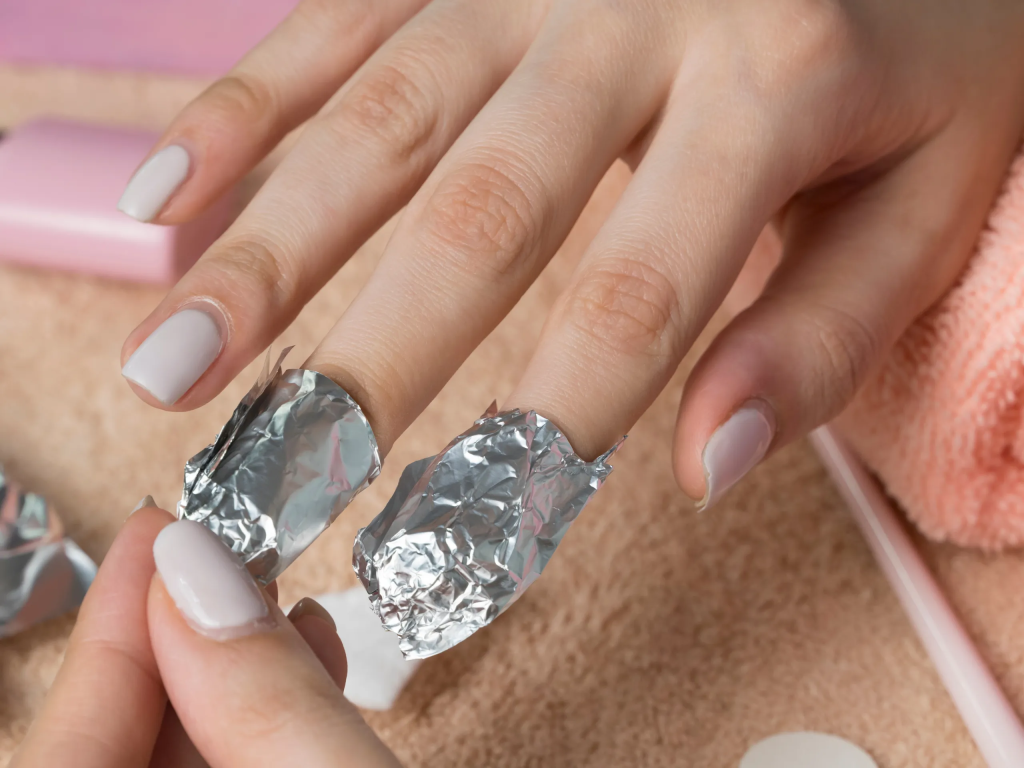
Step 3: Wrap Your Nails in Foil
Place the acetone-soaked cotton ball directly onto the surface of your nail. Immediately wrap a small square of aluminum foil around the cotton ball and your fingertip. Repeat for each nail, making sure the foil is secure to prevent the acetone from evaporating too quickly.
Step 4: Wait It Out
Here’s where your patience comes in. You’ll need to leave the foil wraps on for about 15-20 minutes. During this time, the acetone will be breaking down the gel polish, making it easier to remove. Don’t try to rush this step—let the acetone do its thing. Sit back, relax, and maybe throw on your favorite playlist.
Step 5: Remove the Foil and Gently Push Off the Gel
Once you’ve given the acetone time to work, carefully remove the foil from one nail. Using a cuticle pusher or orange stick, gently push the softened gel away from your natural nail. If the gel doesn’t come off easily, rewrap the nail and let it soak a little longer. Never force or scrape hard—this is where damage can happen.
Repeat this process for each nail, being mindful of how your natural nails feel.
Step 6: Buff and Shape Your Nails
Once all the gel has been removed, use a fine-grit nail file to gently shape your nails. Next, grab a buffer block and smooth out the surface of each nail. This will remove any lingering roughness from the gel removal process.
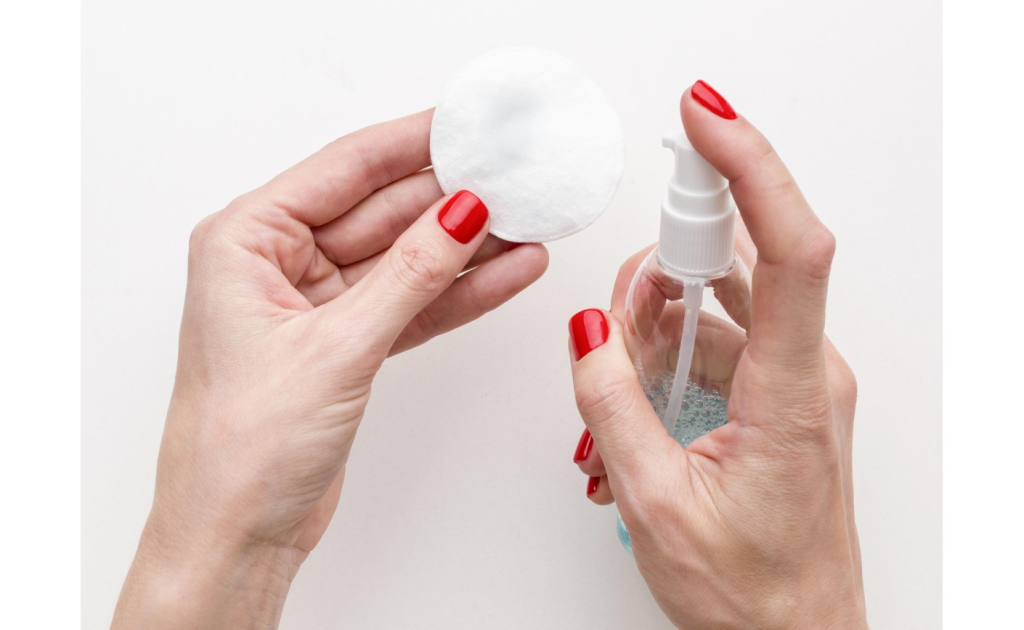
Step 7: Hydrate and Nourish
After all that soaking and filing, your nails are probably feeling a little dry. This is where cuticle oil comes in. Generously apply the oil to each nail and gently massage it into your cuticles and nail beds. This step not only feels luxurious but also helps restore moisture and elasticity to your nails.
3. Step-by-Step Guide for Removing Acrylic Nails
Removing acrylic nails can be a little more intensive than removing gels, but with patience and the right techniques, it can be done without damaging your natural nails.
Step 1: Trim Down the Acrylics
Start by trimming down the length of your acrylic nails with a pair of nail clippers. Cut them as short as possible without clipping your natural nail underneath. This will make the soaking process faster and easier.
Step 2: File the Acrylic Surface
Just like with gel nails, you’ll need to break the seal on the acrylics by filing down the top layer. Use a coarse nail file to gently buff the surface until the shine is gone. The goal here is to thin out the acrylic, not to remove it entirely with the file.
Step 3: Soak in Acetone or Use Cotton Wraps
There are two methods for soaking off acrylic nails:
- Method 1: Soaking in Acetone
Fill a small bowl with pure acetone and dip your fingertips into the solution. Let your nails soak for 20-30 minutes. Every so often, check on your nails to see if the acrylic is softening. - Method 2: Cotton and Foil Wraps
If you prefer not to fully submerge your nails, use the same method as with gel nails. Soak cotton balls in acetone, place them on your nails, and wrap them with aluminum foil.
Step 4: Gently Remove the Acrylic
Once the acrylic has softened, use a cuticle pusher or orange stick to gently push the acrylic off your natural nails. Again, be gentle. If the acrylic doesn’t come off easily, let your nails soak for a little longer.
Step 5: Buff and Shape
Once the acrylic is removed, use a fine-grit nail file to shape your natural nails and a buffer block to smooth the surface. Acrylic nails can sometimes leave your natural nails feeling rough or uneven, so this step is crucial to getting your nails back to their natural beauty.
Step 6: Rehydrate with Oil
Soaking in acetone can leave your nails and cuticles feeling extra dry. After you’ve finished removing the acrylic and buffing your nails, apply cuticle oil to nourish and hydrate your nails. Massage it into your cuticles and nail beds to bring your nails back to life.
4. How to Care for Your Nails Post-Removal
After removing gel or acrylic nails, your natural nails may feel a little fragile or weak. It’s essential to give them some extra TLC to help them recover and grow strong again.
Nail Strengthening Treatments
Invest in a good nail strengthening treatment to help rebuild your natural nails. Products that contain keratin, biotin, or vitamin E can help strengthen and protect your nails from future damage.
Moisturize Regularly
Keeping your nails and cuticles moisturized is key to maintaining healthy nails. Apply a nourishing cuticle oil daily, and follow up with a thick hand cream to lock in the moisture.
Take a Break from Gel and Acrylics
Give your nails a breather after removing gel or acrylics. Let your nails go bare for a couple of weeks to recover from the process. During this time, stick to using a strengthening base coat or breathable nail polish to allow your nails to heal.
5. Common Mistakes to Avoid
Removing gel or acrylic nails can be tricky, and it’s easy to make mistakes that could damage your real nails. Here are some things to avoid:
- Peeling off gel or acrylic nails: Never pick or peel your nails off. This strips away layers of your natural nail, leaving them weak and brittle.
- Forcing the product off: If the gel or acrylic doesn’t come off easily, it means it hasn’t softened enough. Soak it longer rather than trying to scrape or force it off.
- Skipping moisturizer: Acetone is incredibly drying, so rehydrating your nails and cuticles post-removal is a must. Don’t skip the cuticle oil or moisturizer!
Conclusion
Removing gel or acrylic nails without damaging your real nails doesn’t have to be a stressful experience. With the right tools, a little patience, and some post-removal care, you can safely get rid of those polished layers while keeping your natural nails healthy and strong. Just remember: it’s all about being gentle and giving your nails the time and love they deserve.
Now you’ve got the steps, so whether you’re at home, listening to music, or just in need of a little self-care, you’re ready to remove those gel or acrylic nails like a pro—without the damage.