Gel and acrylic nails have become the go-to for long-lasting, salon-perfect nails that scream confidence. But, as with anything too good to be true, there’s always a catch. Over time, improper application and removal of these nail enhancements can weaken and damage your natural nails, leaving them brittle, thin, or prone to peeling.
Here’s the tea: you can rock those flawless, chip-resistant nails while still keeping your natural nails in shape. It’s all about balance—knowing how to prevent damage in the first place and treating your nails with a little love when things go sideways. Let’s dive into a world of healthy nails, because who says you can’t have it all?
1. Prevention: Setting Up for Success
The best way to prevent nail damage is by being proactive before the problem starts. Gel and acrylics don’t have to be a disaster for your natural nails if you follow these preventative steps.
Choose a Reputable Salon and Technician
Your first line of defense is choosing a skilled nail technician who knows what they’re doing. An experienced pro will not only apply the products properly but also ensure your nails are healthy enough to handle gel or acrylics. Avoid salons that rush through your service or use low-quality products that can be harsh on your nails.
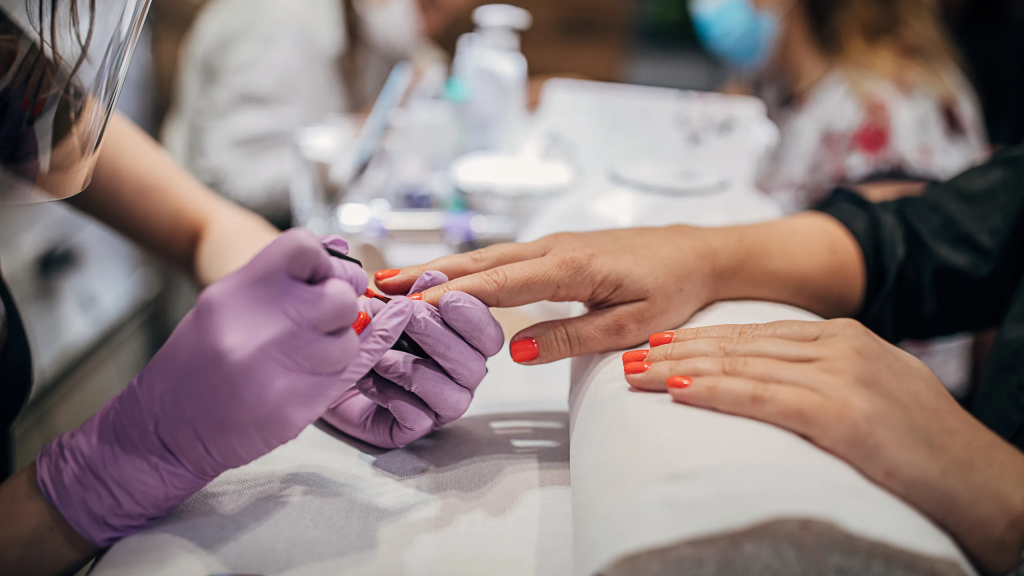
Pro Tip: If your technician is overly aggressive when prepping your nails—filing too much, over-buffing, or using drills incorrectly—it’s a red flag. Speak up and ask for gentle handling, because strong nails start with gentle care.
Take Breaks Between Manicures
Your nails need time to breathe. Continuously applying gel or acrylics without breaks can weaken the nail bed, leading to thin, brittle nails over time. Aim for a break every few months to let your natural nails recover. During this break, pamper them with nourishing treatments and a breathable nail polish (if you’re not ready to go completely bare).
Taking regular breaks also gives you a chance to monitor the health of your natural nails. If you notice any unusual changes like white spots, peeling, or thinning, it’s a sign to pause and let your nails heal before the next round of glam.
Opt for Thin Layers
When getting gels or acrylics, request thinner layers. Thick layers of gel or acrylic are more likely to trap moisture between the layers, leading to fungal infections or lifting. Thick layers also put more pressure on your natural nails, increasing the likelihood of damage. A thin application will not only look more natural but will be gentler on your nails in the long run.
Proper Nail Prep Matters
A healthy gel or acrylic application starts with the right nail prep. Make sure your technician cleans and preps your nails without excessive filing or buffing. Buffing too much can strip away the protective layers of your nails, making them more vulnerable to damage.
If you’re doing your nails at home, always make sure to push back your cuticles and cleanse the nail surface properly to ensure a smooth, even application. Don’t rush through the prep—it’s the foundation of a long-lasting, damage-free manicure.
2. Removal: The Most Critical Step
We’ve all been there—peeling off your gel polish or acrylics when you’re bored, stressed, or just over it. But this is a huge no-no and one of the fastest ways to wreck your nails. Proper removal is where the real nail health magic happens.
Never Peel or Force Off Gels or Acrylics
When you peel off gels or acrylics, you’re not just removing the product; you’re also stripping away layers of your natural nail. This causes your nails to thin out and become more susceptible to breakage. Instead, always follow proper removal techniques, which may take a little more time but will save your nails in the long run.

Soak Off Gel Polish and Acrylics Gently
For gels, the best removal method is to soak your nails in acetone. Start by filing down the topcoat to break the seal. Then, soak a cotton ball in acetone, place it on your nail, and wrap it in foil. Leave it for about 15-20 minutes before gently scraping off the softened gel with a cuticle pusher.
For acrylics, you’ll also need to soak your nails in acetone. Again, file down the top layer to break the seal. Soak your nails in a bowl of acetone for 20-30 minutes, and then gently push off the softened acrylic with a cuticle tool. It’s essential to avoid tugging or scraping too hard. Be patient and let the acetone do the heavy lifting.
Pro Tip: After soaking, use a soft buffer to gently smooth out any rough spots. Never use a harsh file or try to force the product off.
Give Your Nails a Hydration Boost
Acetone is drying, and after removal, your nails and cuticles will be thirsty for some serious hydration. As soon as you’ve removed the product, apply a nourishing cuticle oil and follow up with a rich hand cream. Keeping your nails hydrated will help them recover faster and maintain their strength. Self Love Oil, for example, can restore much-needed moisture while repairing the nail bed.
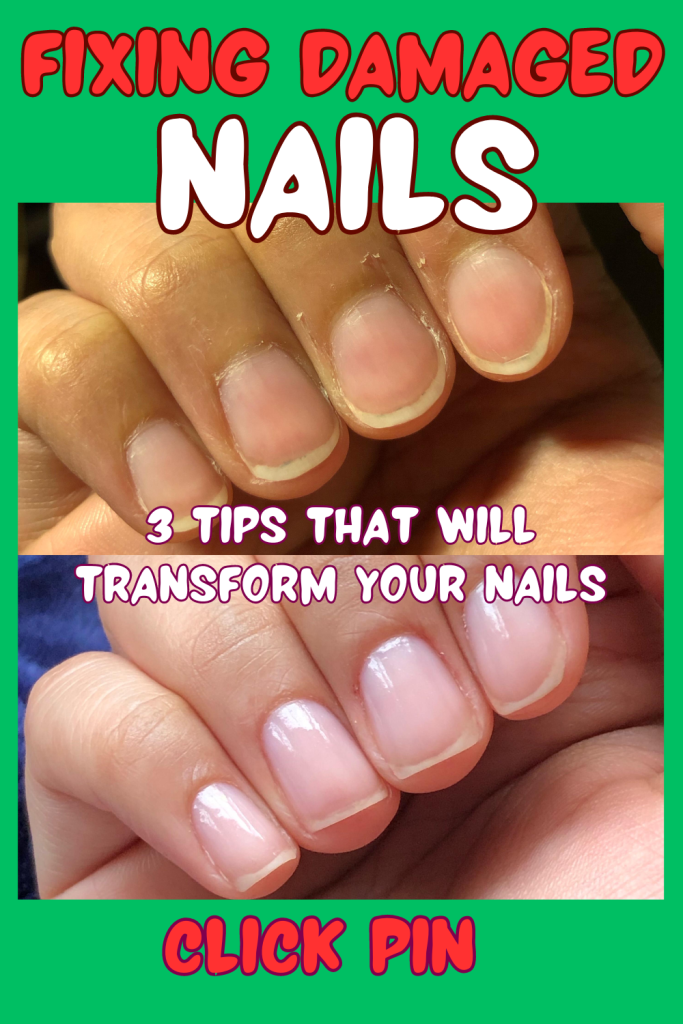
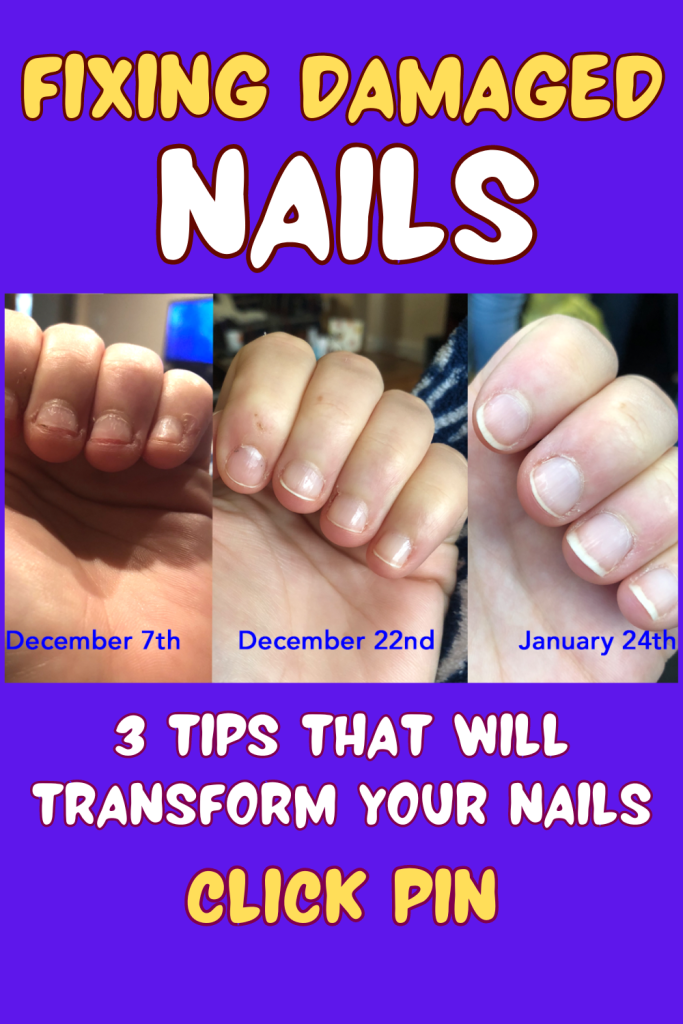
3. Treatment: Restoring Damaged Nails
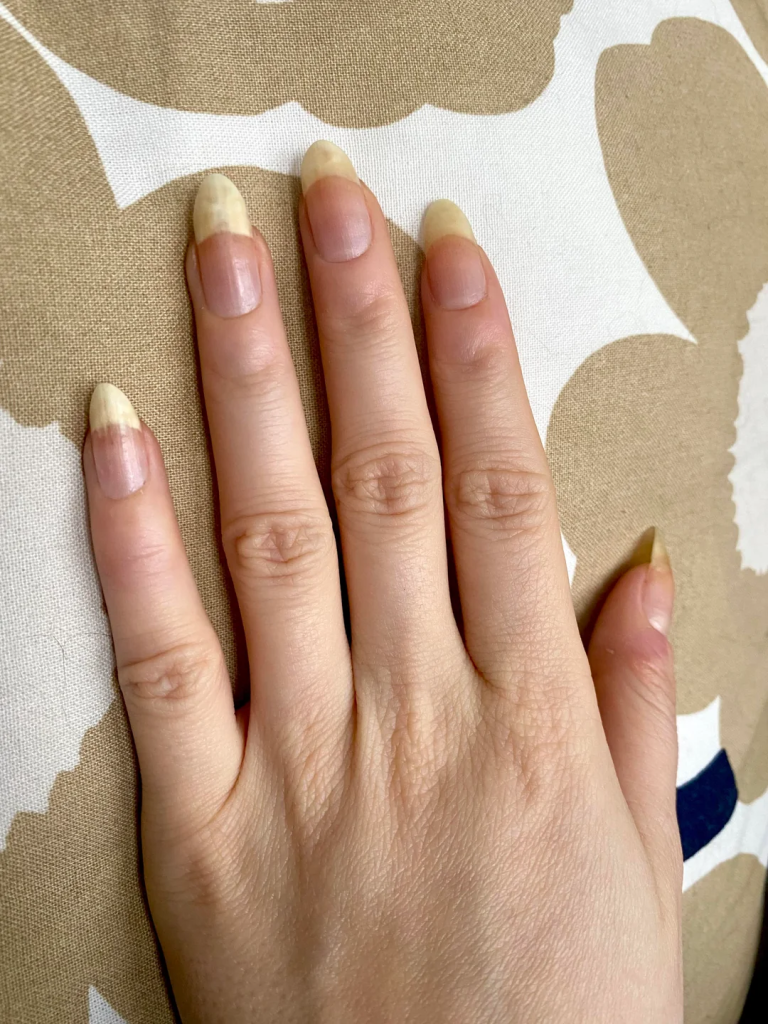
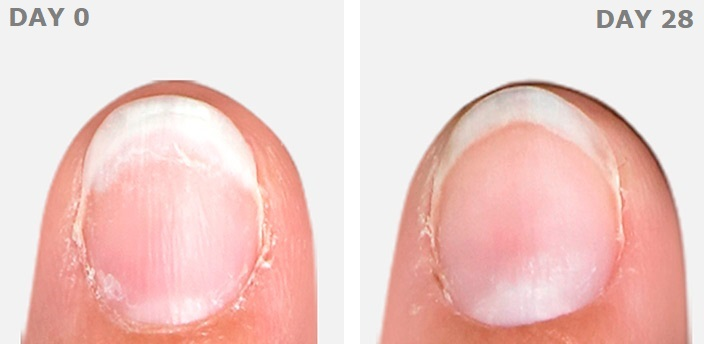
If you’ve already noticed damage to your natural nails—whether they’ve become thin, brittle, or prone to peeling—don’t panic. You can bring them back to life with the right care and patience. Let’s talk about treating damaged nails and getting them back to their former glory.
Strengthen with a Nail Treatment
The first step in repairing damaged nails is using a strengthening treatment designed to nourish and protect. Look for a formula with ingredients like keratin, biotin, or vitamin E, which help repair the nail’s structure. A product like Kester Black’s Miracle Treatment Base Coat can do wonders in restoring the health of your nails while also providing a protective layer for future manicures.
Apply your strengthening treatment daily or every few days, depending on the product instructions, and avoid using regular nail polish until your nails have regained their strength.
File Your Nails Regularly and Gently
When your nails are in a damaged state, it’s essential to keep them trimmed and shaped to prevent further breakage. Use a fine-grit file to gently shape your nails and keep them short while they’re recovering. Filing in one direction (instead of sawing back and forth) will reduce stress on the nail and prevent further splits.
Avoid using rough emery boards, which can tear at the edges of your nails. Opt for a glass or crystal file, which is gentler on damaged nails and helps to seal the tips.
Moisturize Daily
Hydration is key to nail recovery. Dry nails are more prone to breakage, so keep your cuticles and nails moisturized at all times. Use a cuticle oil like Self Love Oil or a nourishing cream specifically designed for nails. Apply it at least twice a day—once in the morning and once before bed—for maximum hydration.
If your nails are particularly brittle, consider using a nail mask treatment, which deeply hydrates and repairs the nail structure while you sleep.
Take a Nail-Strengthening Supplement
Sometimes, topical treatments need a little backup from the inside. Supplements containing biotin, zinc, and vitamin E can promote nail growth and help strengthen them from within. Taking these supplements regularly can support healthier, stronger nails over time, especially if you’ve experienced severe damage.
Be patient, though—nail growth and recovery take time. You won’t see results overnight, but with consistent care and supplementation, your nails will grow back stronger and healthier.
Give Your Nails a Break
Finally, give your nails time to heal by skipping gels and acrylics for a few months. While it can be tempting to jump right back into your next set, allowing your natural nails to rest and recover will prevent long-term damage. Stick with nourishing treatments and breathable nail polishes in the meantime.
Conclusion: Balance Beauty and Nail Health
Gel and acrylic nails are beautiful and fun, but your natural nails are the real stars of the show. Taking the time to prevent damage, removing enhancements properly, and treating your nails with care will ensure that your nails stay healthy no matter how often you glam them up.
Remember, the key to long-lasting, strong nails is balance. Treat your nails like you would your skin—protect, hydrate, and nourish them regularly. When you take care of your natural nails, your manicures will look even better and last longer, leaving you with stunning nails that shine with or without enhancements.